Your newly purchased framed prints are starting to collect dust in the corner. You haven’t had time to borrow a drill from your neighbour. And you still need to muster up the courage to work your way into those perfectly smooth walls. Afterall, the last thing you want is to bust a water pipe or electrical line. Whether you’re renting (beware that deposit) or a landlord (beware that brand new plaster), we’re here to help you get started with hanging your pictures—sans heavy machinery and irreversible holes.
So, put your drill away and get out that pencil and notepad because here are a few simple, effective, and original ways to hang your pictures, photos, and posters without turning your walls into Swiss cheese.
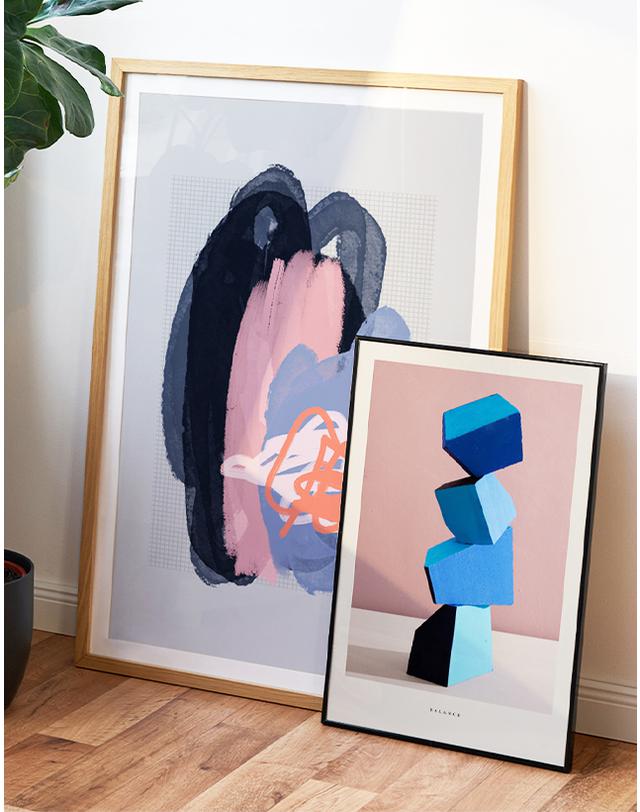
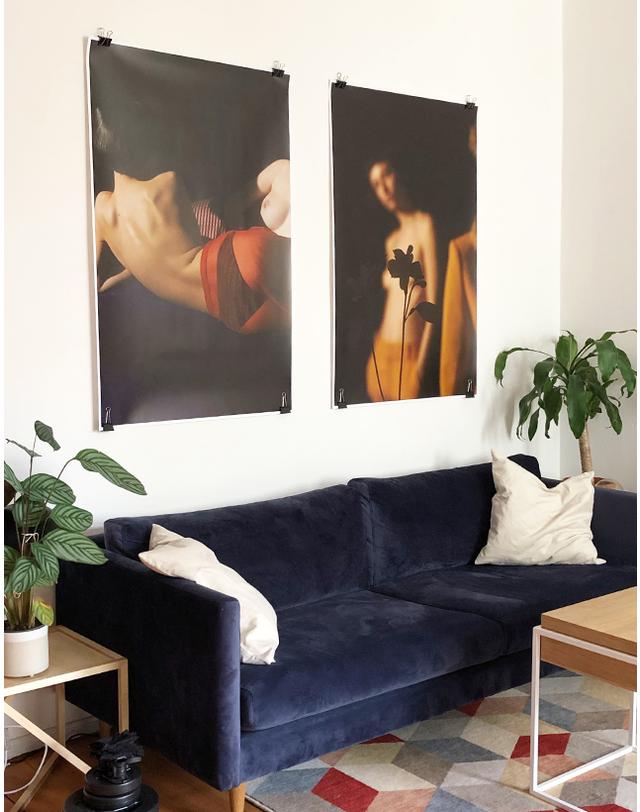
1. Lean them against the wall
Tend to think big? So do we. If you want to go all out and look stylish while doing it, choosing a huge frame that you can prop up against the wall is by far the easiest solution. Give your home that enviable bohemian edge, while drawing all eyes to your favourite statement piece. For the perfect oversized effect, think about going for a typographic work or a contrasting photograph.
Insider tip: If you have several frames and want to play around with levels, try placing them on piles of books against the walls—it looks great and also keeps everything tidy!
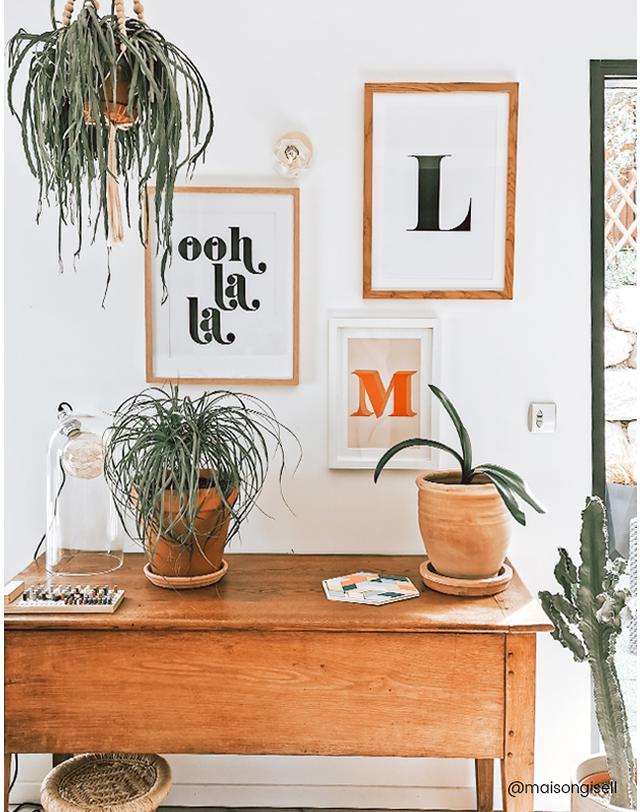
2. Fix with adhesive
Ah yes, the magic solution. There are dozens of types of adhesive, depending on the desired weight and material of your frames. Adhesive nails, double-sided sticky tape, tabs, hooks, fixing paste...you name it. You're bound to find something you like. After having tried and tested this method ourselves, we’re happy to say: our picture frames are still hanging on our walls and we haven't used a single hammer!
Practical, quick to install, and even easier to remove, adhesive fixings allow you to change the layout of your gallery wall quickly and easily, without leaving any traces! Genius.
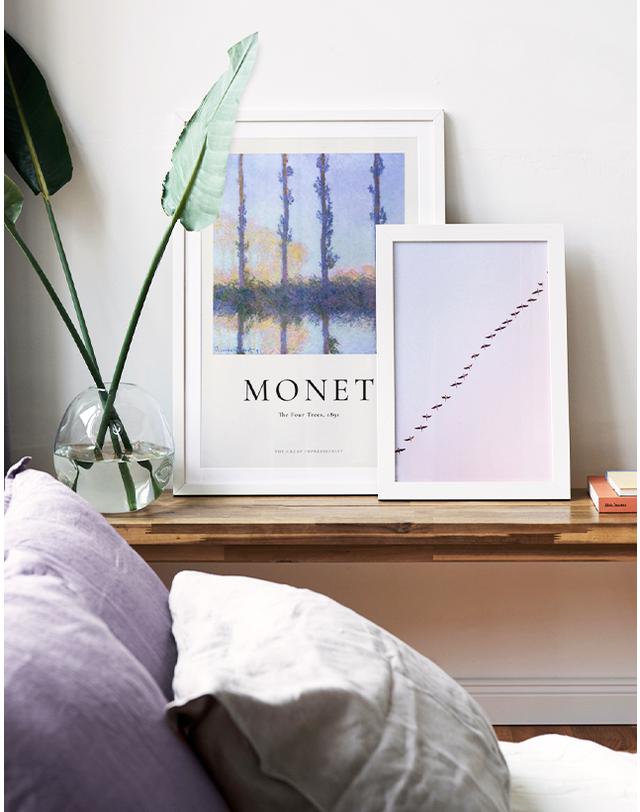
3. Bench them
Benches aren’t just for gym class: they can also be used as shelves without having to create a single hole in your wall! All you’ll need is a plant or two, a few books, a cosy blanket, and your beloved framed picture. Play with different themes and colours to pull all the elements together.
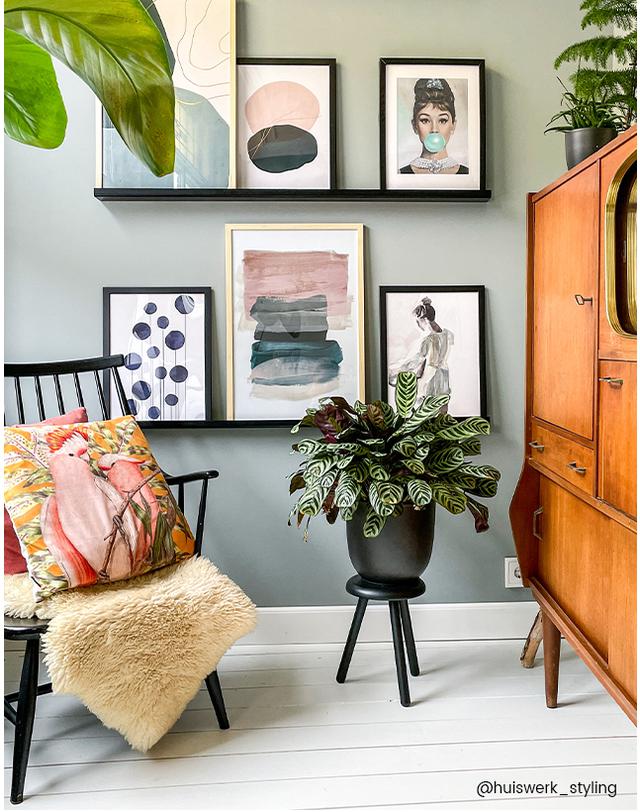
4. Shelf them
It’s true: shelves don't have to have nails! Really, they can be hung all over the place, giving you loads of extra surface space within minutes. And for that extra charm, try placing fresh flowers next to your frames; sometimes it’s the simplest gestures that make the biggest difference!
5. Create a magnetic wall
The trick to decorating: having fun! Arrange your posters however you like using a fresh coat of magnetic paint, or perhaps experiment with a self-adhesive board or adhesive wallpaper. Want something really personal? Play around with the shape, size, and colour. Original and fun, this solution is perfect for the kitchen, the office, or the children's room—they’ll love to get creative and play with this shapeshifting feature. And as for the final touch, look out some cute magnets to match your artwork.
6. Make a DIY stand
If you’re still hunting for that perfect poster frame, or if you often change your mind, this tip is for you. While you may have put the drill away, there's nothing to stop you from getting out your toolbox and making a DIY frame. Our two favourite options?
Firstly, add a little character to your home with a beautiful wooden stand, which can be placed against the wall or wedged behind a piece of furniture. Made from simple slats, it is both functional and aesthetically on-point. This approach will allow you to easily hang and display your favourite pictures, and can be moved easily around the house.
And second—since hanging up your pictures is endlessly more fun than hanging up your laundry—have fun putting them on a wire with mini clothes pegs or metal clips! For a minimalist look, choose a discreet and transparent nylon thread, or a strand of coloured string for a little more originality. Easy to attach to adhesive hooks, we love this inspiring moodboard style!
And for the finishing touch...
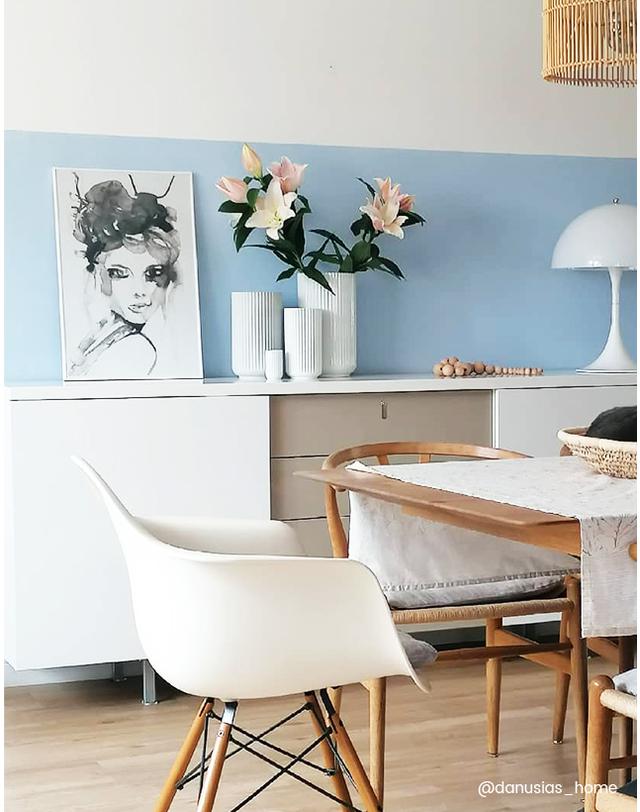
Add some colour! Be bold and paint your entire wall blue. Or, if like us you like to keep things versatile, why not add a feature to your wall? A plank of wood, or a splash of colour, and you've got enough work to keep you entertained for an afternoon without risking anything on your deposit. Some artworks jump out when set against a little colour: think primary colours or a black and white combination for an even stronger effect.
And that's it! Now that you’ve found the perfect method for hanging your pictures without nails, you need to decide how to arrange them. And we have the solution for that too! From your choice of frames to their layout—square, line, patchwork—and the ideal height, we’ll tell you everything you need to know to create the gallery wall of your dreams, while keeping in line with your own style, and showing off your all-time favourite works of art. Are you ready to create a truly beautiful interior?
Image 1: "Foliage 0118", "Pear", "Palm Silhouettes", "Nectar", "Flow" and "Bloomseries Cadmium"
Image 2: "Abstract Brush Strokes 35" and "Balance II"
Image 3:"Ooh La La", "L" and "Red M"
Image 4:"Monet - The Four Trees" and "Follow My Lead @Vasarely"
Image 5: "Interplay", "Crossed", "Waterflowers", "Minimalism 1" and "It's Called Pikapika"
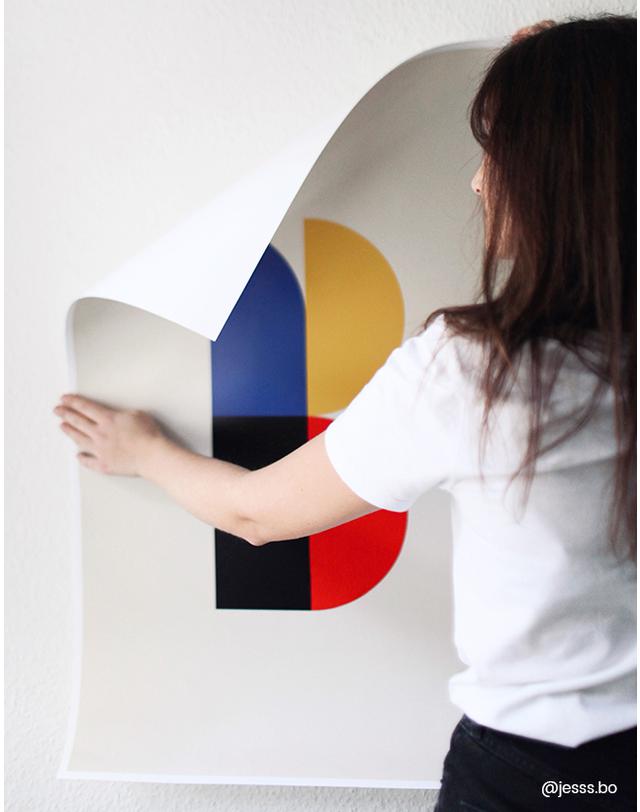
Image 6: "B for Bauhaus"
Image 7: "Freddy 2" and "Freddy 1"
Image 8: "Hot Mess"
